Bad propagation in recent years creates difficulties for our work, the FT8 digital transmission mode has become a big hit in the amateur radio community all over the world.
In simple terms the FT8 Mode gives the opportunity to connect other stations even if the received signal is almost non-existent (below the noise threshold). This is the possibility of QSO around the world with just a few Watts and poorly performing antennas.
Like many other amateurs, I also suffer from the problem of antennas which are always large and heavy in HF, so out of necessity, but above all out of curiosity, I approached this “philosophy of thought”. Yes, more a philosophy of thought than a way of transmitting because it is very different from other modes like the CW or other digital mode. In fact, the software that is normally used is extremely automated and, if well configured, follows the QSO from the start until the QSL.
Obviously it is up to the operator to activate or not all these automatisms and if they remain disabled it also takes on a certain charm.
In this article I do not want to explain the principle or the algorithms behind this protocol (I would not even be able) but I want to show my interpretation of this philosophy, brought into the world of the QRP mobile. In fact, the entire decoding / encoding program of the FT8 that I have considered is called WSJT-X and the latest version must be downloaded in order to guarantee compatibility with the entire system.
After a brief reading of the various versions, I have discovered that there is also a version for LINUX, so why not create a portable version with Raspberry !!! Maybe with a battery and then connected to the FT-897D also with batteries, I made a real mobile station, and if you are sufficiently “honest” even really QRP (the 897 can deliver only 5 watts) .. …
Here is the shopping list and how I assembled it:
A battery / recharge system for Raspberry Pi 3
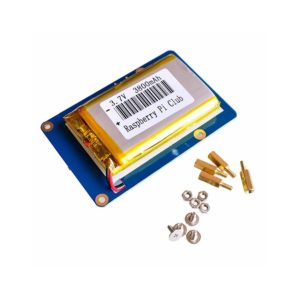
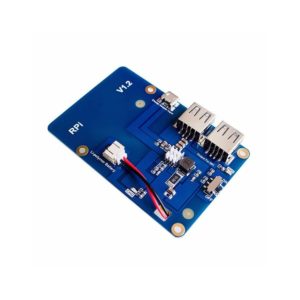
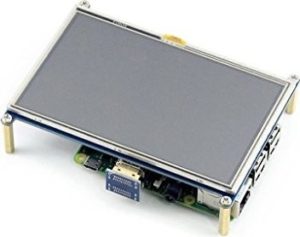
An 5 inch LCD HDMI from WaverShare

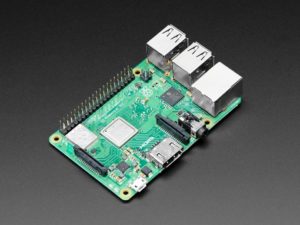
Raspberry PI 3 o 3B+
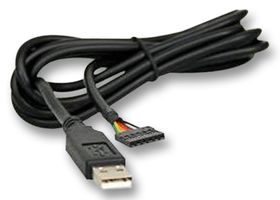
A UART usb to TTL-232R
LINKS ARE REALLY SIMPLE!
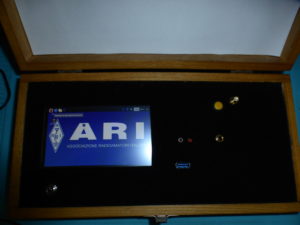
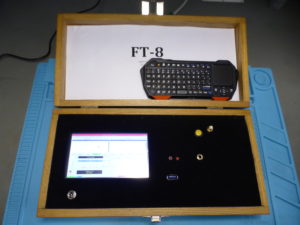
I connect the LCD to the Raspberry HDMI port and the Touch Screen USB to a USB port on Raspberry
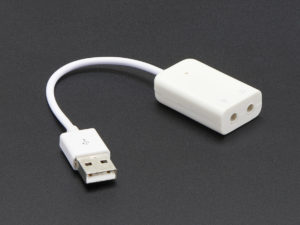
The sound card to a Raspberry USB port and the battery to the Raspberry USB power port , the USB serial port connects to the last free port of the Raspberry
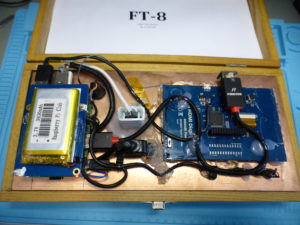
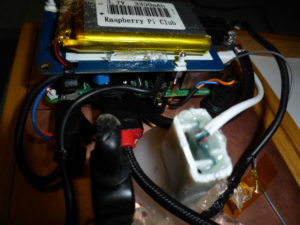
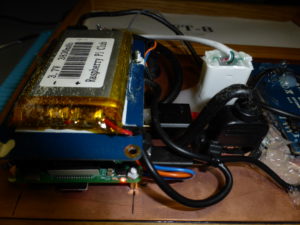
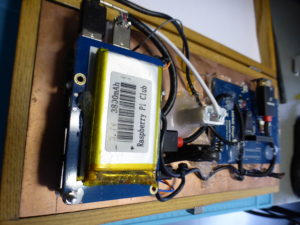
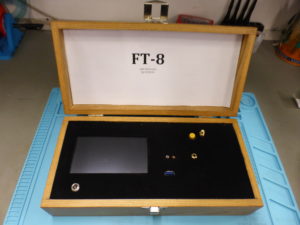
I used an old wooden cabinet and I made the upper shield in Fiberglass.
MISSING, THE MOST IMPORTANT THING
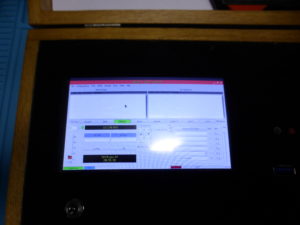
The software that runs all !!
As I said the main program is downloaded from the link I gave at the beginning of the article, the operating system is downloaded from the Raspberry site and then LOT OF PATIENCE but I guarantee you that the result is worth the effort !!
I’m joking !!! If the idea is to try to do everything yourself (in full amateur HAM spirit) , I have given you enough infos, If someone does not want to try the challenge or believes cannot be able to please contact me .
